The Sanding Process Explained:
Step 1: Repairing your floor
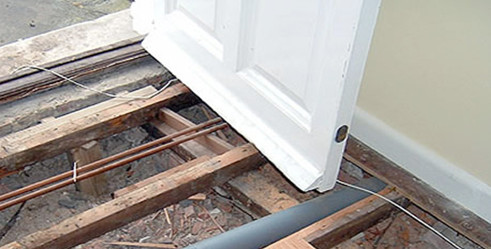
The first step in the sanding process is to secure any loose floorboards and joists using lost, or cut clasp headed nails. Uplift any split or dangerous boards and replace them with reclaimed timber, or new to best match your type of floor. Punch any protruding nail heads in using a nail punch. Any old carpet staples or tacks must be removed with pliers to avoid damaging sanding discs and belts. Remember check for pipes and electrical cables under the floor before you start nailing boards down.
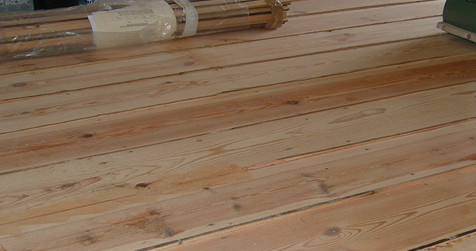
Step 2: Gap filling
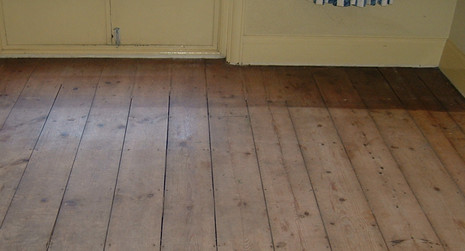
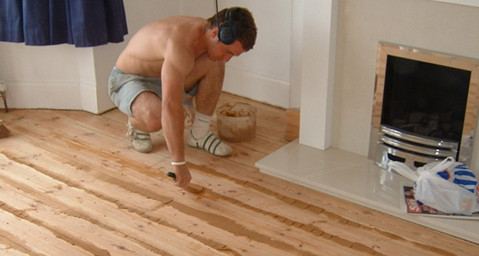
The next step is to have any gaps in your floor filled. This can be done using two main methods. For pine floorboards we sell reclaimed pine slivers. These are one-metre long individual pieces of re-claimed pine. With a 6mm or 8mm top, and cut on an angle to squeeze in the tightest gaps, these slivers are a great help. The idea is they are glued on each edge, placed in the gap and then banged in nice and tight with a hammer. Not only does this fill the gap eradicating the draft and helping with heat loss, it also helps tighten the floorboards giving a firmer floor.
After a couple of hours the glue should be dry enough for you to then start chiseling the slivers down with a sharp chisel. (Please take extra precaution when using sharp tools) If you choose you can also sand them flush with the edge sander after taking the majority down with the chisel.
The second method of filling is slightly easier. You would now jump to step 3 and start sanding you floor. Once you have carried out all drum, edge and corner sanding you are now ready for the finishing sand. Using an empty dust bag in the Trio finishing machine you start the process again as you did with the drum sander going through the grits of paper accordingly. Generally sanding on a 40 or 60 grit, or 60 and 80 grit will allow you to collect enough clean, fine dust in the trio dust bag. When you feel you have sanded the floor adequately and you have enough dust you can then start the resin fill stage.
Taking some of the fine Trio dust and mixing it with the resin in a pot or bucket, you form a wood paste very similar in colour to your floor. The right consistency is important. To runny and the filler will sink straight through the gaps, to thick and it will be very difficult to work with. Now start pushing the filler into the smaller gaps using a scraper or filling knife. It is also ideal for filling nail heads or other areas that require attention.
Ideally leaving slightly proud to avoid any sinking this is then allowed to dry. Once dry go over the floor again with the Trio using the old 60 or 80 grits to remove excess filler. Once excess is removed check for low points that the Trio may have missed and either hand sand or orbital these clean. You may wish to give the floor a once over with some new sanding discs on the grit you last used. Its then time for the final sand with the Trio using a 100 or 120 grit disc. Remember to Hoover between every coarse of sanding to help keep the floor free from dust and filler overspill.
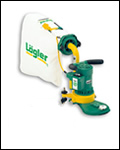
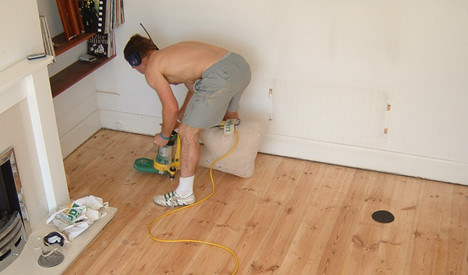
Step 3: Sanding your floor
Once all the gaps have been filled the next step will be to sand your floor, using a combination of different grades of sanding belts on our range of sanding machines. As every floor is different there is no set rule on what grade of abrasive to start on. There are some examples in our “Scenario” sections, which may help you. You Tube tutorial videos are well worth a watch to give some free handy tips.
Step 4: Staining your floor
If you have decided to have your floor stained then this would be the next step. We have large stocks of various stains and colour oils, which will transform your floor. Application can vary depending on individual products.
Step 5: Finishing your floor
The final step in the process is to finish your floor with a lacquer or Hardwax Oil, depending on manufacturer and your personal preference. Two coats will be applied to your floor if you have chosen oil as the final finish, three coats if you have chosen a lacquered finish. Please bear in mind that both will require drying time in between coats. Typically the drying time of the Hardwax Oil is 8-12hrs and the lacquer 2-3hrs per coat. You must anticipate a small amount of disruption to your daily household routine.
Step 6: Maintenance & Prevention Of Your New Floor
All floor finishes will require maintaining. Generally most manufactures will advise not using any cleaning products on the for the first two weeks. Unfortunately no one has invented a self-cleaning product that means we can do away with the traditional mop and bucket. We can supply you with specific maintenance kits for your chosen finish and advise on future maintenance. You can also view our online maintenance brochure by visiting ……………LINK.
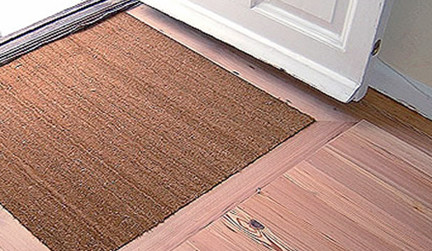
Like most things in life prevention is the key to anything deteriorating. Felt pads on furniture will help stop surface scratches and gouging. Lifting furniture rather than dragging to avoid any disasters and politely asking the lady wearing stilettos to your dinner party to remove them at the front door. Door mats and runners will help in high wear areas such as hallways, and protective mats under office chairs are also a good way of preventing excess wear. Spillages should be wiped up as soon as possible as constant soiling of the floor can cause marking.
DISCLAIMER: Please note that the views expressed in the above literature are that of Winchester Hardwood Flooring Ltd and are meant to express our opinion of how restoration work can be best acheived. If you decide to follow any of the above mentioned this is entirly of your own choosing to do so. We accept no liability in any form.
|